My process with photos is to download into folders, process the folder and right there and then, compress the photos and post them to a draft blog.
However, this wasn’t working so well because I’d forget that I had all these draft posts and in the moment, sometimes I’d get sidetracked and start messing around in the blog when I was supposed to be organising photos.
So as of this year, I decided I’d split my processes and create a “to blog” folder.
I still use Picasa for my photo editing (cropping out errant arms and legs :)), highlight the ones I want and click on email. It compresses them automatically like magic. You can choose the size of the compressed image by clicking Tools, Options, Email and then selecting the size you want.
I then highlight the photos, click copy and paste them into a new folder within my To Blog folder.
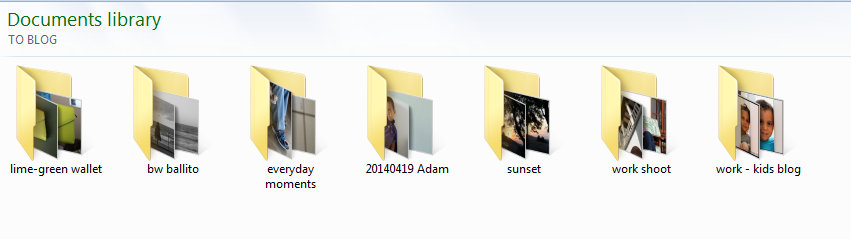 Let’s look at one of those folders…

Once I’ve blogged the particular set of photos, I delete the whole folder because the originals are still in my original monthly folders.
And if I blog a couple of photos from my Everyday moments folder, I simply delete those til the entire folder is empty, and then start again. Easy-peasy.
 This is so easy and makes it so simple for me to know exactly how many posts I have to do, I can’t think why I didn’t do it like this sooner!
Hopefully this will help one or two of you.


I LOVE this post so much! Thank You. I just can’t manage to add photos into posts. Obviously because they are not organised properly. Yet. This is going to have to be my next organising project.
I’m so pleased you love this post 🙂
It’s going to be end of mine day, except before finish I am reading this fantastic piece of
writing to improve my know-how.