How to have the best Christmas ever


I started reading all my old posts about Christmas and realised that I have actually said everything I want to say, so let me link to those posts.

Easy Christmas decorating

Lower your Christmas expectations especially with social media

The Christmas Card controversy

Keep Christmas simple but meaningful

Clever gift ideas for Christmas and throughout the year

and last but definitely not least, my favourite Christmas post ever!

Create the perfect Christmas… for you

What does the “best Christmas” look like for you?

Tell me all your questions and I’ll answer in the comments.

Creatives can’t get organised. Myth or truth?

It’s true that creative people need different ways to organise themselves because traditional methods usually don’t work too well for them.

There is no one-size-fits-all approach to organising; in fact, since each person is unique, each person’s organising system should also be different.

Let’s look at four areas to organise yourself for success:

  1. Attitude
    It’s a myth that creative people can’t work in a structured environment. On the contrary, having a bit of structure in your life actually enables you to be even more creative and to do better work.
A few years ago, a client emailed to tell me how she’s been energised and has been creating beautiful things again.

What was the difference in her life? We’d worked on organising her office space and within the new-found order, she could be creative once again.

Stop telling yourself that you can’t be organised; rather tell yourself that you organise yourself in non-traditional ways.

  1. Schedule
    Traditionally, we’ve all been told to work according to the clock. I’m telling you to work with your energy cycles; don’t try to battle them.

If you know that you go through a bit of a slump around lunch time, maybe that’s when you want to run errands or exercise to give yourself an energy boost.

If you design websites and you know that you’re most creative at midnight, then design your websites at midnight  Who made the rule that you have to start working at 8am?

  1. To-do list
    Scrap the to-do list. Yes, you read that correctly. The to-do list may set you up for failure especially when you feel you’re not getting things done.

Rather use an Eat the Frog list. This list helps you be more flexible so you only need to get the most important things done. My clients are always a bit shocked when I tell them, “the fewer items you have on your list, the better it is”. Just make sure those are truly important things on your list.

  1. Workspace
    When you can find your equipment and supplies easily, your valuable energy is used for actual creativity and not wasted on looking for things.

It’s so important to have your workspace set up according to your organising style. Are you a visual, auditory or kinesthetic learner? Are you a paper or electronic person? Maybe the reason you can’t seem to get your papers organised is because you’re actually an electronic person.

I’ve had clients with very messy offices whose computers are perfectly organised, and vice versa. It’s so important to play to your strengths.

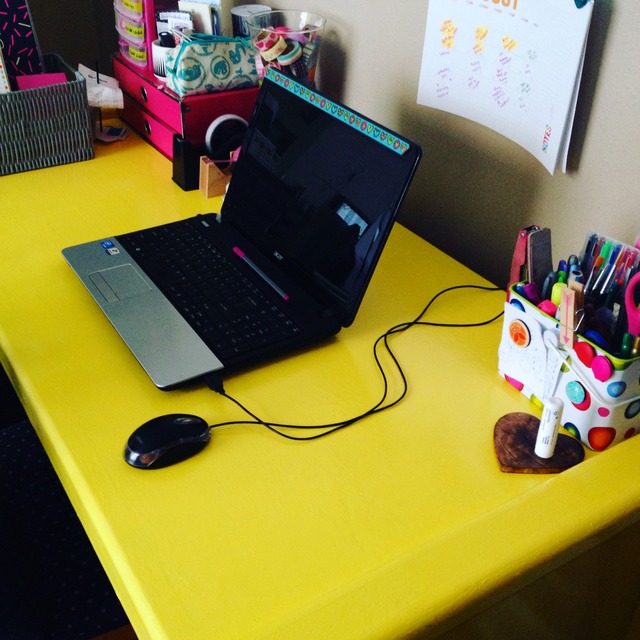
My friend, Suzanne, admitted on the podcast that she hadn’t been creating because her workspace was too messy. She then took up my challenge to organise her environment so she could create again. Look at these fantastic results!

My challenge to you
Check your attitude and start telling yourself you can get more productive once you organise according to your style.

Tag me on instagram to come see your workspaces and creative environments. I can’t wait to see.

Are you creative? What are your particular challenges with regard to your workspace?

PS I wrote about my space to create on the blog before.

5 favourite posts about…. stationery!

I’ve always had a huge love for stationery so this time of year is one of my favourites because of the back-to-school sales.

Flipfiles? Yes please!

Pens? Ooooh definitely yes.

Basically I justify things to myself to get some stationery.

By the way, a tip. If you want the kids to take care of the stationery, announce that it is all yours! They need to ask to use it (always say yes!) and pack it away in its place afterwards (separate from their stuff).

I do this and all the nice stuff lasts forever because it’s “my” stuff. It’s not really but it just means nothing goes missing or has caps left off the markers 🙂

Moving on.

My kids’ favourite stationery items

Favourite stationery for kids | www.organisingqueen.com


My favourite highlighters ever

I wrote this post in 2014 and I’ve been using those same 5 highlighters for the last 2.5 years. I’ve just started a new box.

I love stationery - neon twister highlighters


The best pens in the world

These are still my very favourite pens. Pick and Pay has the pink ones for R20, and blue and green ones for R17 each.

IMG_4576


My 5 favourite stationery items

and I still love these pencils. I washi’d them to make them even more fun 😮 Recently I bought myself some of those WOPEX pencil crayons (colouring pencils) too and they are so lovely to the touch.

favourite stationery finds | www.organisingqueen.com


My kids’ favourite stationery items – part two

Fun fact – each kid needed 48 pencils for school. I bought a combination of Staedtler and Bic, purely because CNA ran out of the Staedtler pencils. Ha!

Favourite kid stationery | www.organisingqueen.com

Now tell me, do you have a favourite post?

Did you see something you want to try? Tell me in the comments and I’ll tell you where to get it at the best price.

Tell me about any stationery finds you’ve discovered and loved in the last while.

What I learned in May

11-01 2413

  1. 1 year on Instagram has been super fun

2. 4 years since my book was published (go get your $4 copy!) and it still feels unreal

health

3. 2 years of Fitbitting 🙂 Here’s 1 year with my Fitbit.

Let’s talk some more about this:

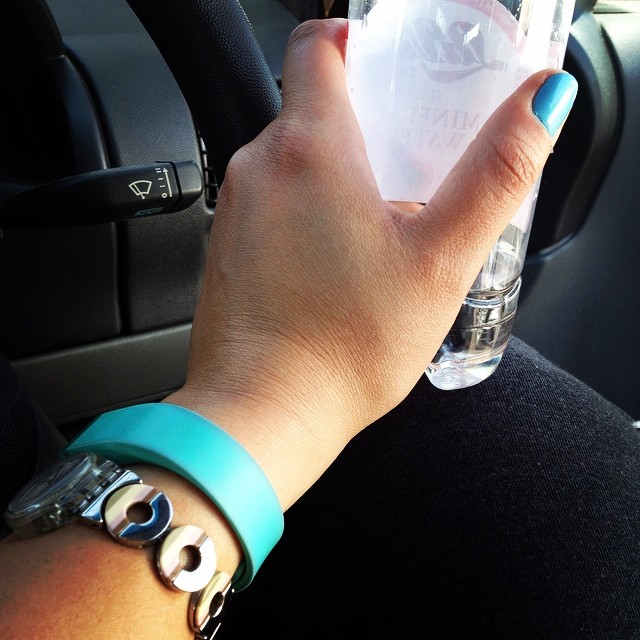
I’m not sure what happened but while I still wear my Fitbit diligently, I almost don’t really care about reaching step goals anymore. I think it started with our long, hot summer (8 months is a super long time to be too hot) but it could have been before that. I still wear the bracelet because I am mildly interested in seeing what I get to… but mostly I wear it because I love the sleep stats. Super love them.

You may remember that I had a serious goal at the beginning of last year to increase my sleep. That worked beautifully and so I continue to track my time this year because I’ve found that what I measure, I manage better. And I’m constantly at my 7 hours 30 mins of daily sleep which is great. I sleep way more than this some days which balances out the occasional 6.5 hour nights.

4. I can read 3 non-fiction books in a month. Yes, that’s what happened this month. I’m surprised too because I thought my absolute top limit was two books in a really, really good month.

5. When you don’t rest properly if you’re a bit ill, your body takes longer to heal. I know, all you clever clogs learned this long ago. It’s just a really bad time for me to be a bit ill, what with Spanish exams looming, 2 big business things happening at my real work and the not-so-small matter of selling and buying houses.

6. Konmari really works. We have move dates so I went through a few rooms thinking, ” I need to declutter so I can pack” and…. I threw out 3 knives, a pair of pants and a top. That’s awesome 🙂 If you’re thinking of moving, do Konmari 🙂

IMG_86257. I actually can mess up my Bullet Journal. I’ve started to consciously write nonsense in there too because it’s not a shrine to plannerly goodness; it’s a notebook, for goodness sake.

Bonus – it is really fun to washi up some pencils. Try it and see. I grabbed everyone’s pencils at work and in one client phone call, washi’d them all 🙂

IMG_2765

Go on then, tell me. What did you learn in May?

Project Life 2 – what I’m doing this year

See this post for what I used to do

Last week I told you about the huge cost of shipping to South Africa, which was always there, but has now become exorbitant due to the exchange rate.

Project Life 2 |www.OrganisingQueen.com

this is the pen I use for my memory-keeping. It is not a permanent marker but I do love the tip 🙂

Project Life 2 |www.OrganisingQueen.com Project Life 2 |www.OrganisingQueen.com

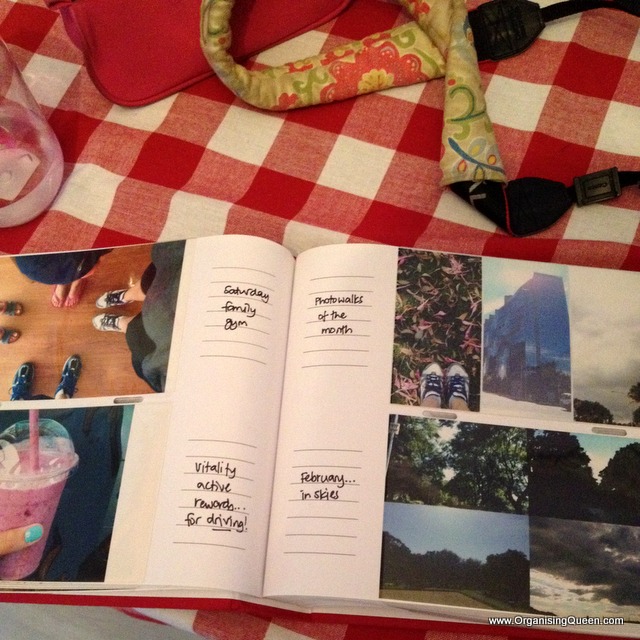
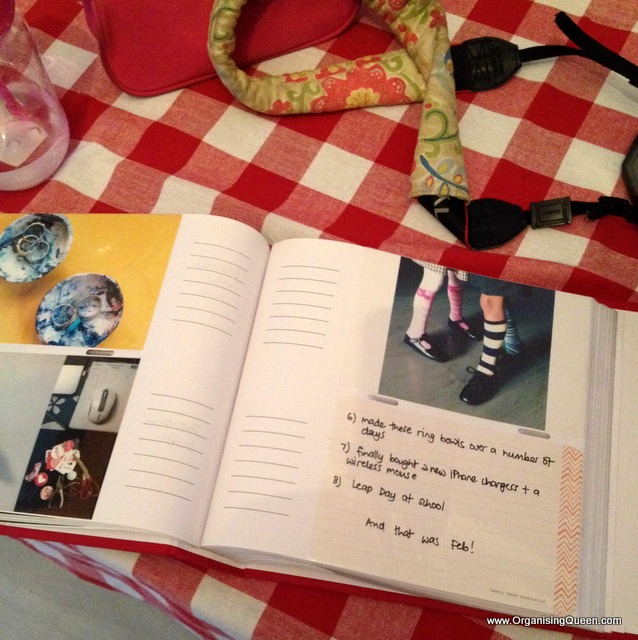
So I decided to use standard photo albums (I buy mine from CNA), the same ones I use for all our memory-keeping and use those for this year’s Project Life.

The albums take 4 photos to a page and store 200 photos overall.

My plan is to use my landscape photos (I mostly take landscape photos) and the 10 X 15 cards from the Project Life kits, of which I have 4 – 5.

Project Life 2 |www.OrganisingQueen.com

There isn’t necessarily a Project Life card per “layout”. I do Project Life with very loose boundaries, so some months I have 9 photos and some I have 15, and it’s all good.

So there is plenty to mix and match, and also if I get bored, I can buy just the filler or journalling cards from one or more of the digital kits. These filler or journalling cards cost $3,99 a set which is about R70.

Project Life 2 |www.OrganisingQueen.com

what it’s teaching me

At first I thought I was settling but now I realise there are so many pros to the situation:

  1. I’m not limited to those 80 photos for the year 🙂
  2. the small matter of lovely limitations as The Nester calls it has sparked a bit of creativity to think differently with the layouts

If you haven’t yet thought of memory keeping by alternative means, I urge you to grab a bog-standard photo album and just start somewhere. It’s really much easier (and cheaper) than you think it needs to be.

What sparks your creativity?

Project Life 2 |www.OrganisingQueen.com

My Project Life evolution – how I used to do it

Project Life | www.OrganisingQueen.com

Rain mini-album with Seafoam cards

Let’s start at the beginning.

When I discovered Project Life, I saw all these complicated systems  online (weekly spreads, a book for each child, this kind of thing) and immediately decided that was not for me.

I was interested in documenting on a regular basis, but not too much.

So I settled on monthly documenting, in a mini album that had to last the entire year.

Each mini album can take 80 10 X 15 photos, and the 3 X 4 ones fit in on the sides. So you’re looking at 6 – 8 photos every month, which I feel is more than doable.

There’s a thing to be said for boundaries (I love them!).

Project Life | www.OrganisingQueen.com

Seafoam cards

I bought 3 mini albums and they lasted me 3 years – 2013 – 2015.

3 things I loved about the mini album:

  1. clear boundaries – if I overstepped my 6 – 8 photo a month rule, I’d run out of space
  2. suited my photo-taking style – about 98% of my photos are landscape
  3. really compact – a whole year documented was about 1.5 cm thick

The only reason I’ve stopped using the mini album is the expense of shipping to South Africa.

In fact, I ordered and had 3 albums shipped to a friend, and when she told me the cheapest price of shipping the albums to me, I nearly fainted.

It was very, very expensive (VERY!) and felt like just too much money, so my friend kindly returned the stuff to Amazon and I made another plan, which I will tell you about next week 🙂

Do you do Project Life? Which format do you prefer? Digital/ physical/ app? What size album do you like, and why?

Let’s talk about this adult colouring craze

I’m not the most patient person in the world. In fact, impatient is probably one of the top 10 words some would use to describe me.

I was also never a child who liked using a colouring book. I liked dot-to-dot, and activity pads like word search and crossword puzzles, but colouring always seemed rather pointless.

So I really don’t get this colouring-in business for adults. All those fiddly lines…. How would you colour properly with standard pencil crayons (colouring pencils)?!

I posted a pic on Instagram – the one below – and a few of you weighed in and told me it’s quite soothing and such.

I do agree because I actually finished colouring this picture on the day I was meant to be studying for exams so yes, it is a great procrastination tool 🙂

One of my twins, Connor, likes colouring so I printed out some of the pages from Leonie Dawson’s colouring book and he and I will do those pages together.

There’s a difference though – Leonie’s pages are not fiddly, and so I can colour with pastels, crayons and colouring pencils.

So then I realised two things… I don’t like to strain my eyes on a so-called enjoyable activity so the designs have to be easy on my eyes, and I really like to use stationery that will bring me joy, not frustrate me.

Now I can enjoy a bit of colouring with Connor (and it helps – he’s a quality time child!) while sneaking kisses, and I can play with lovely stationery!

Do you colour? Have you always enjoyed colouring or is this a new craze for you?

How to print Instagram photos (on the cheap)

Late last year I decided that I wanted to print my Instagrams for the year. I investigated a lot of options but they were all too expensive (for me) – maybe you don’t mind paying that much… I do.

So I googled a bit and eventually mished and mashed a few things together, and this is now my system that works REALLY well.

How to print from Instagram | www.organisingqueen.com

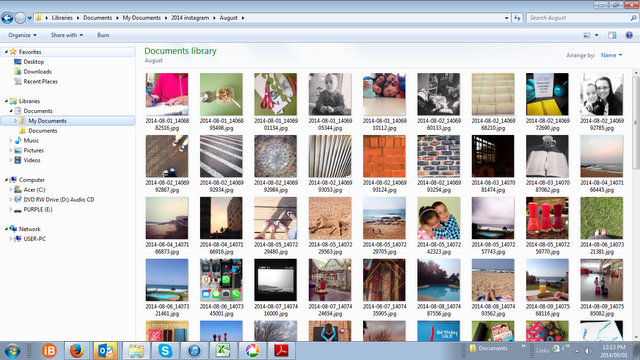
Export your photos from IG via www.instaport.me. I only do this once a month, except when I first started and I had nearly a whole year to work through.

How to print from Instagram | www.organisingqueen.com

Extract from zip file (open the zip, copy all and paste into your folder)

How to print from Instagram | www.organisingqueen.com

Make sure they’re sorting themselves by date order.

How to print from Instagram | www.organisingqueen.com

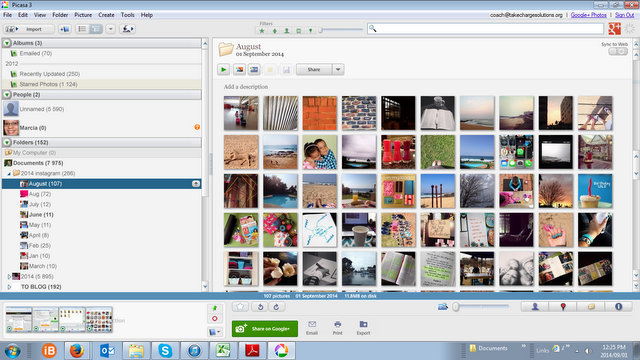
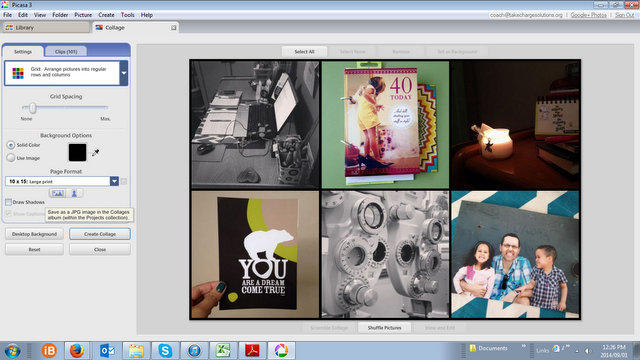
Open Picasa and all your photos will fly in (it really does :))

How to print from Instagram | www.organisingqueen.com

Select all the ones you want in batches of 6 – I really do aim for one print a day (best I’ve done is probably 48 over a month). Collage each batch of 6 in a grid format to print in a 10 X 15 size. (6 squares make a standard 10 X 15 – I had to experiment a lot)

How to print from Instagram | www.organisingqueen.com

Print and put in your album.

How to print from Instagram | www.organisingqueen.com

Cost?

I bought this 200-page album at CNA for R90 last year. They now go for about R130. It will comfortably last at least 2 years.

Prints are R4,50 each at my local print shop. I love the quality so I pay more. If I’m printing more than 50, I get a discount per print. The last batch cost me R3,80 each because I printed 60.

I end up with about 10 every month which is at most R45….. and R540 for the year. As with most things, doing this on a monthly basis means it is very affordable.

All in all, you’re looking at R600 per year – R50 a month. Much cheaper than any of the places that print instagrams.

But if you’re looking for only a few select instagrams instead of a “book” concept as I was, then by all means, please use the specialist instagram printers.

How to print from Instagram | www.organisingqueen.com

Do you print your Instagram photos?

Have you done a book? Or do you print individual prints?

What does your system look like?

{Marcia gets craftsy} Photo cards

Photo cards | Organising Queen

This has got to be the easiest crafts ever. And one of the cutest. And a great way to use up extra photos you might have just thrown away or given to the kids to cut up *ahem*

Supplies

White cardstock (I happened to have some white cards ready so I used those)

Glue/ foam dots (or double-sided tape)

Photos (10 X 15)

Photo cards | Organising Queen

Method

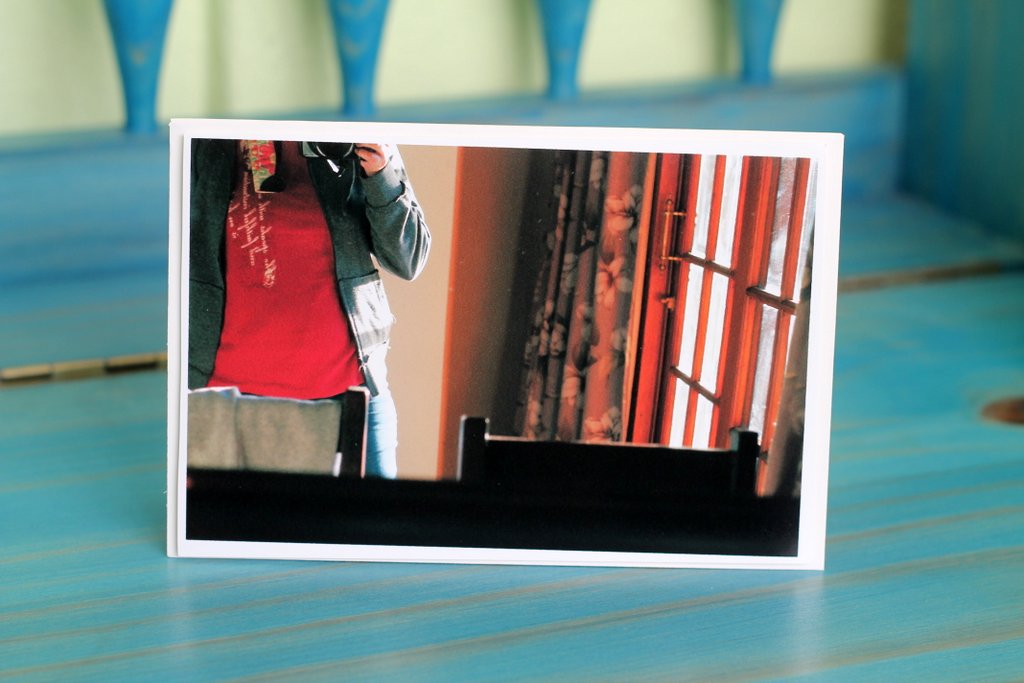
Stick the 4 glue dots about 5 mm from the corners of the card

Affix your photo carefully

DONE!

How easy is that?!

Photo cards | Organising Queen

I got the idea from the lovely Georgia who took photos in her mom and MIL’s gardens and then made each of them a personalised set of notecards. SOOOO clever.

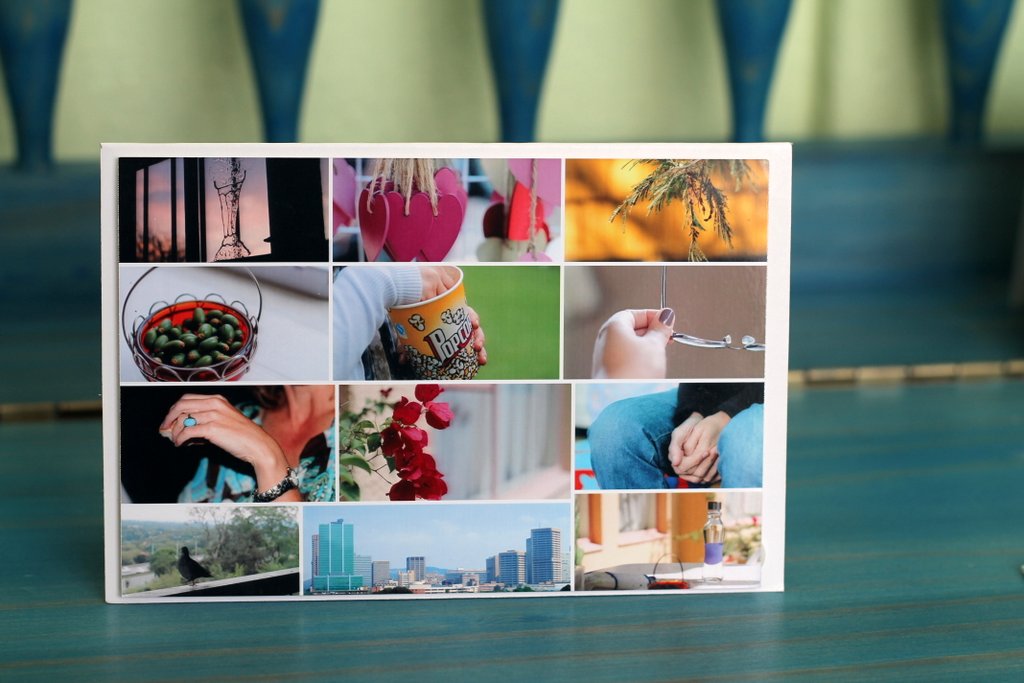
I just found the stash of extra cards around here (sometimes the printer acts up and prints the first one twice, or I find I miscounted and I only have so many photo sleeves in my album, or the Project Life spread suddenly doesn’t need that extra photo), and made a random selection of photos.

Photo cards | Organising Queen

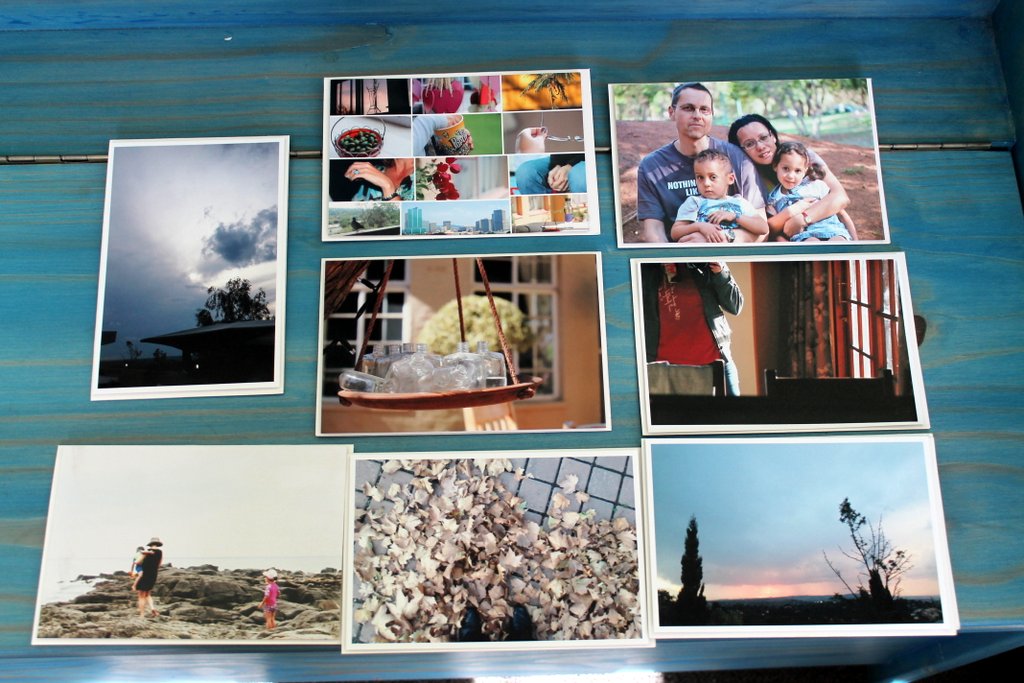
Very clever trick – I found a couple of extra copies from our photoshoot late last year which I attached to existing thank-you cards we have from when the babies were 15 months old. The kids look very different now so I’d stopped using them but now I have a vision for these cards again 🙂

Photo cards | Organising Queen Photo cards | Organising Queen  Photo cards | Organising Queen  Photo cards | Organising Queen

I hope you give this a try and use up any photos laying around. The more arbitrary the photo, the better. (at least I think so).

Please let me know if you make some cards.

Do you just toss leftover photos? How do you use them?

Related Posts Plugin for WordPress, Blogger...
WP2Social Auto Publish Powered By : XYZScripts.com